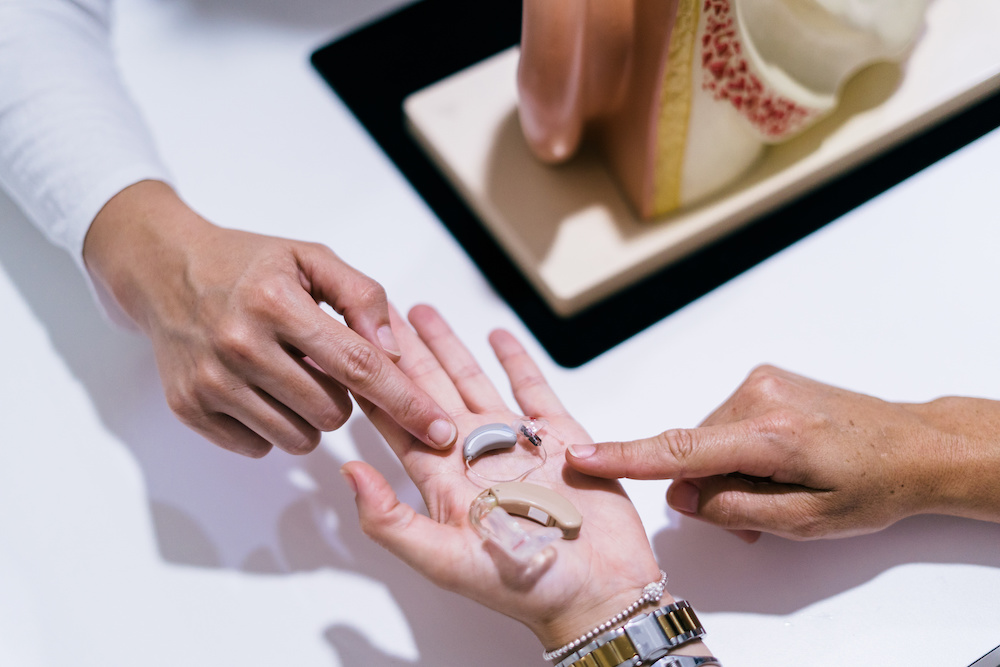
Feedback, no sound, and faulty performance are all issues that can result from a failure to clean and maintain your hearing aids. Because it represents a significant investment, getting the most out of them and making them last should be a priority. To help motivate proper hearing aid care, I have put together some basic maintenance and cleaning guidelines, but before getting started it might be necessary to familiarize yourself with the parts of a hearing aid.
Assembling the Right Tools
Your hearing aid provider probably has a complete list of suggested tools or may have provided you with a cleaning kit when they fitted your hearing aid. Check with them before you rush out and spend your hard-earned cash. Most hearing aid cleaning kits include:
- Brush. A soft bristle toothbrush or any soft bristle brush is helpful for cleaning the body, faceplate, and sound port of your device. Some specially designed brushes even include a magnetic battery removal tool.
- Wax Pick or Hook. Built-up debris might not break loose using the brush, so it might be necessary to dig out earwax and other debris from the nooks and holes in your instrument.
- Multi-Tool. Those who have difficulty keeping up with a lot of small tools might benefit from multi-tools, which include all you need to perform a thorough cleaning.
- Bulb Blower (optional). Found where cameras and photographic equipment are sold, bulb blowers can help blow moisture out of tubing and casings without causing damage.
Cleaning ITE (in-the-ear) Style Hearing Aids:
- Brush away all built-up earwax and debris while holding your hearing aid with the opening facing downward. It will fall away instead of falling into holes and crevices.
- Any stubborn or stuck debris is easier to remove using the wax pick or wire hook.
- To finish, use a clean dry cloth or tissue to wipe down the surfaces of the unit.
Cleaning BTE (behind-the-ear) Style Hearing Aids:
- Clean the earmold and hook separately by detaching them, and then following the same steps used to clean ITE styles.
- The soft materials of some earmolds can stain or discolor. Soaking them in soapy water will prevent this damage. Make sure to allow plenty of time for the unit to dry before use. DO NOT use alcohol and harsh chemicals, which can cause significant damage.
- You can force water or moisture out of the tubes or cases by using a bulb blower as necessary.
Additional Hearing Aid Care Tips
Cleaning helps you to get the greatest longevity and enhanced performance out of your device, but there are additional hearing aid care tips which also help to protect your investment, including:
- Steer Clear of Moisture (hair sprays, gels, showers, saunas, swimming pools, the beach)
- Nightly Cleaning (overnight drying time, daily cleaning makes it easier)
- Stay Away from Extreme Temperatures (cold weather produces a risk of condensation, heat and sun cause material melting or UV damage)
- Don’t Try to Fix Them Yourself. If cracks in the case, tubing defects, or loose wires appear, take them to a professional technician with the right parts, tools, and expertise to provide proper repair and maintenance instead of rigging something up.
Your hearing aids are a financial investment from which you want to get the longest possible use. They also represent an investment into better health, greater independence, and a higher quality of life, so proper cleaning and maintenance is also important to improving their performance. I want my Biloxi and Gulfport patients to enjoy the incredible benefits provided by their hearing aids for as long as possible. The Coastal Hearing Center team and I are always available to answer questions about cleaning and maintenance or to provide tech support.
Contact us to learn more about cleaning your hearing aids, or set up an appointment at the Coastal Hearing Center nearest to you.


